Creating a Store Item

To create a Store Item, use the /create command and choose πŸ“¦ Store Item.

Use the /create command

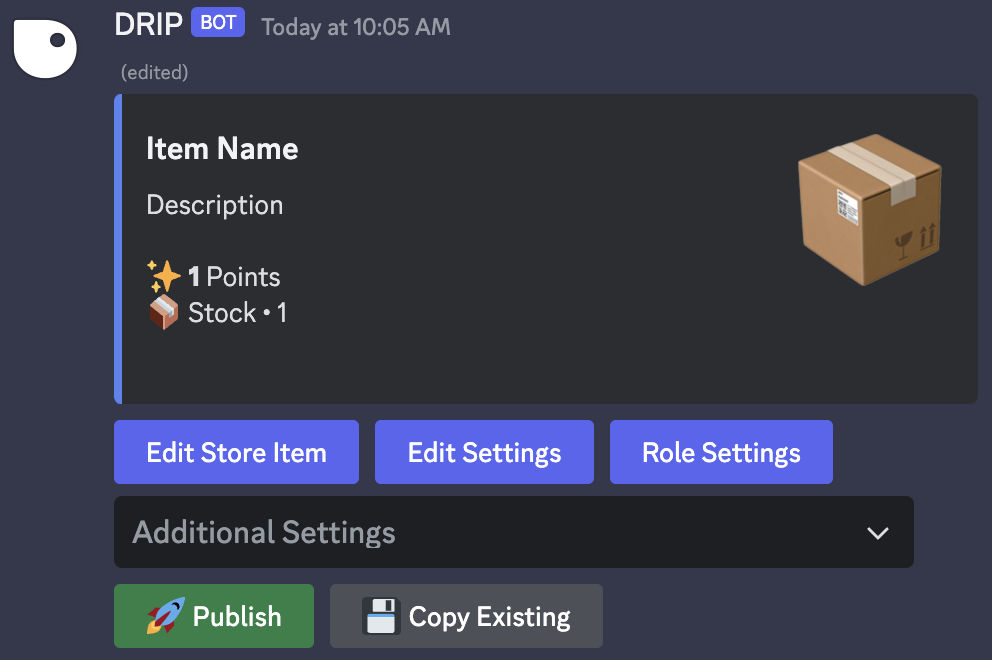
After typing the command and clicking enter, the following embed will be sent to the channel

Edit store embed

Choose the option you would like to edit by clicking one of the buttons or selecting from the dropdown menu

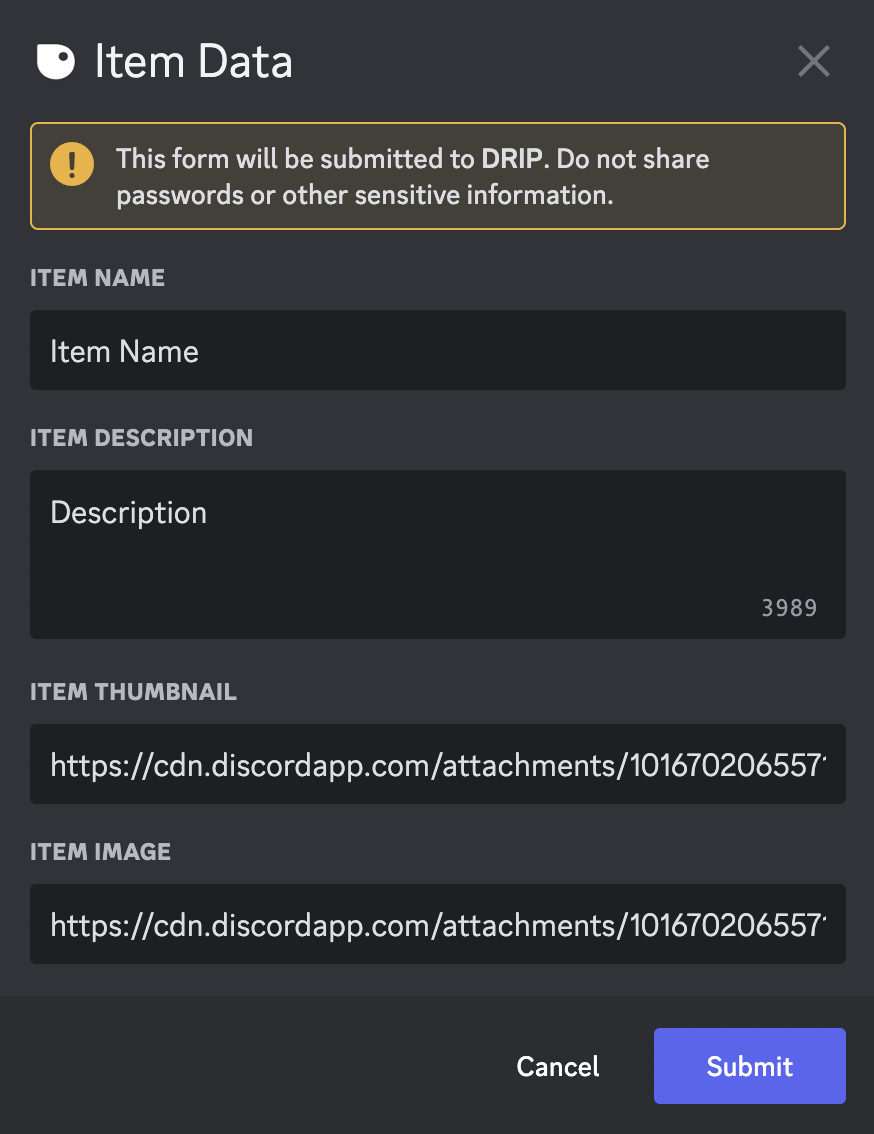
To edit a store item click on the Edit Store Item button

To edit store item settings click on the Edit Settings button

Click on Edit Settings

A form will appear for you to edit the price, max per person, and stock of the item

Edit Settings

To edit store item role settings click on the Role Settings button

Click on Role Settings

Use the 3 dropdown menus to choose the fitting roles to be rewarded, excluded, or required to purchase the item

Use the dropdown menus to select roles

Use the dropdown menu and select 🧡 Create Thread on Purchase to edit whether a Thread is created when an item is purchased

Click on Create Thread on Purchase

A green βœ… will appear next to the menu item when the feature is enabled

Enabled Thread on Purchase

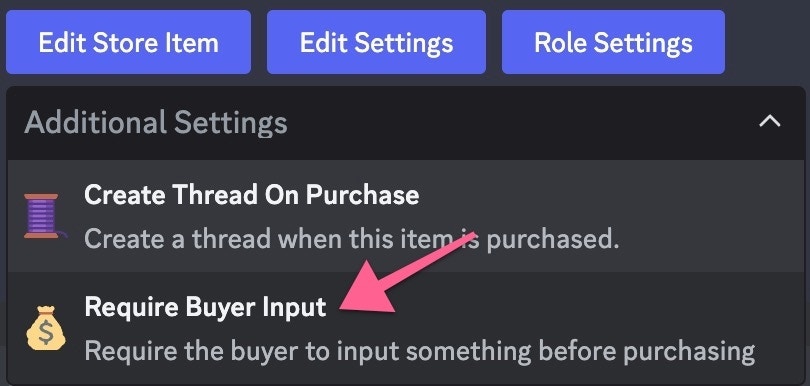
Use the dropdown menu and select πŸ’° Require Buyer Input to require buyers to select a wallet or input custom text before purchasing an item

Click on Require Buyer Input

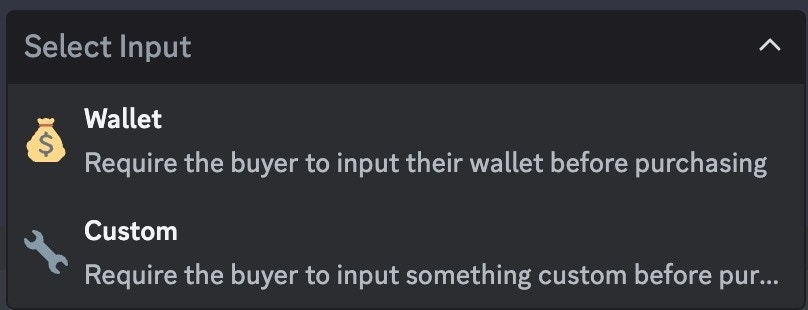
Now you can select the type of input required of a user before they can purchase the store item. You can choose from the following options:

  • πŸ’° Wallet: Require the buyer to input their wallet before purchasing

  • πŸ”§ Custom: Require the buyer to input something custom before purchasing

Select the type of input to require

To publish, click the green πŸš€Publish button. This will send your Store Item to the current channel

Click the Publish button when finished